Laptop Won’t Turn On: Safe Checks Before You Open It
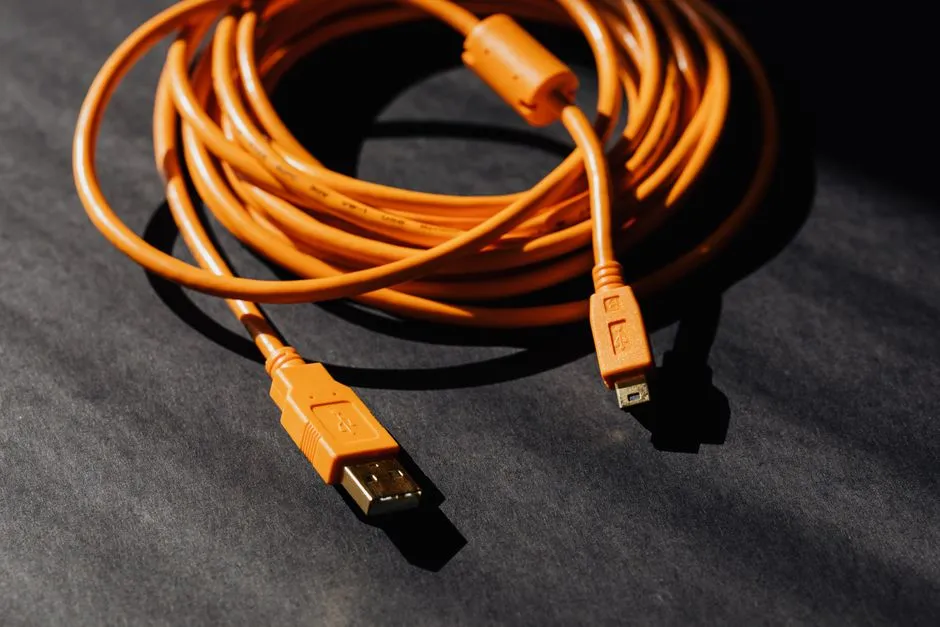
- First decide whether it has no power or no picture
- Stop for battery, fire, liquid, or mains hazards
- Remove external variables
- Verify the wall outlet without touching wiring
- Inspect the charger externally
- Connect power and observe for one minute
- Press power once and classify the result
- Use the exact manufacturer power-reset procedure
- For a powered laptop with a black screen
- Preserve data before recovery
- Run only official non-destructive diagnostics
- Opening is a separate decision
- Write a useful repair handoff
- Avoid fake support
First decide whether it has no power or no picture
When a laptop will not turn on, stop first for swelling, unusual heat, hissing, smoke, chemical odour, liquid damage, a burnt connector, or damaged power equipment. Otherwise disconnect accessories, verify the outlet, inspect the approved charger externally, connect it directly, and record lights, fan sound, keyboard response, and screen behaviour.
A silent laptop with no LEDs follows a different path from one whose fan spins behind a black display. Do not open the case or try a factory reset before making that distinction. Back up accessible data before recovery, firmware, or erase steps.
Stop for battery, fire, liquid, or mains hazards
Stop using and charging the laptop if:
- the case, trackpad, keyboard, or seam is bulging;
- the laptop or charger is unusually hot;
- you hear hissing, popping, or crackling;
- you see smoke, sparks, melting, or charring;
- you smell a sharp chemical or burning odour;
- liquid entered the device or power adapter;
- cable insulation is cut, frayed, kinked, or exposing conductors;
- a plug, connector, or outlet is loose, blackened, or hot.
Do not press a swollen case closed, puncture a battery, remove it while hot or unstable, or continue “just long enough to back up.” Move away from combustibles only when this can be done without handling an active hot, smoking, or hissing device. Call emergency services for fire or immediate danger. Follow manufacturer and local hazardous-waste guidance for safe handling and disposal.
CPSC describes overheating, fire, electrical shock, burns, and ejected parts among high-energy battery hazards in its battery overview. The warning is not improved by a chatbot saying “carefully.”
Do not open a mains power adapter. Capacitors and live parts can remain hazardous, and qualified electrical work requires isolation and verification—not optimism with a small screwdriver.
Remove external variables
If no stop condition exists:
- Unplug docks, hubs, external drives, monitors, memory cards, USB devices, and headphones.
- Remove a manufacturer-approved detachable battery only when it is user-removable, cool, undamaged, and the official instructions say how.
- Leave the internal case closed.
- Note whether behaviour changes with every accessory removed.
A failed peripheral, shorted cable, or dock can prevent startup. Disconnecting one variable is reversible and preserves evidence. The same external, one-variable method applies to a phone charging-port fault.
Do not repeatedly connect a device that becomes hot or causes the charger light to extinguish. Stop and seek service; that behaviour can indicate a fault requiring measurement.
Verify the wall outlet without touching wiring
Test the outlet with a small known-working appliance appropriate to that outlet, or move the laptop to another known-working outlet. Bypass an extension strip or dock temporarily and connect the approved charger directly.
Do not remove outlet covers, probe receptacles, repair wiring, defeat a ground pin, or use an adapter that removes protective earthing. A loose, scorched, buzzing, wet, sparking, or hot outlet needs a qualified electrician and should not be used.
If a breaker or residual-current device trips repeatedly, do not keep resetting it. Disconnect the suspect equipment and obtain qualified help. Repeated protection operation is information, not a button-mashing challenge.
Inspect the charger externally
With the charger unplugged from both wall and laptop, inspect:
- wall plug and detachable mains lead;
- adapter case and seams;
- low-voltage cable along its full length;
- strain reliefs at both ends;
- connector shell and centre pin where present;
- USB-C cable ends for debris, looseness, or heat marks;
- label for manufacturer, model, and electrical ratings.
Stop using damaged, wet, burnt, cracked, frayed, loose, or unusually hot equipment. Do not tape exposed insulation or bend a cable until charging appears.
Use only a charger the laptop manufacturer lists as compatible or one whose voltage, current capability, polarity, connector, USB-C power-delivery profiles, cable rating, and authentication have been verified by a qualified source. Similar connector shape proves only that two objects can become stuck together.
An adapter can be incompatible even when a USB-C plug fits. Low-wattage charging may be refused or work only while off; incorrect or uncertified power equipment can damage, overheat, or shock. Never ask AI to infer electrical ratings from a product photograph.
Connect power and observe for one minute
Place the laptop on a hard, non-combustible, ventilated surface. Connect the verified charger. Do not cover the adapter or laptop.
Observe without pressing power:
- charge or power LED;
- LED colour or blink pattern;
- screen battery symbol;
- sound, heat, odour, or connector movement;
- whether the adapter indicator changes when connected.
Record exact patterns. “White LED blinks twice, pauses, then repeats” is more useful than “the light acts weird.”
If the connector must be held at an angle, stop. A loose port, cable, solder joint, or damaged contact can heat and worsen. Do not wedge the plug into place.
Press power once and classify the result
Use a normal brief press.
No power evidence
There are no lights, fan, sound, keyboard response, vibration, or display change. The safe next steps are official power-source and model-specific reset instructions, not screen replacement.
Power evidence, black screen
Fans, LEDs, keyboard backlight, caps-lock response, startup sound, or external-display output may show that the system powers. This branch concerns display, startup, memory, firmware, or another internal issue—not necessarily the battery.
Logo or error appears
Record the exact message or beep/blink code. Photograph it without exposing personal information. Look it up on the manufacturer’s official support site for the exact model.
Starts, then shuts down
Note the time, heat, fan behaviour, power source, and message. Stop if temperature, smell, swelling, or sound becomes abnormal.
Use the observation template in how to ask AI for repair help only after the category is clear.
Use the exact manufacturer power-reset procedure
Many laptops document a power drain, embedded-controller reset, emergency reset pinhole, key combination, or detachable-battery sequence. The method and button timing vary. Some pinholes release a battery circuit; others are microphones or mechanical openings that should never meet a paper clip.
Find the official support manual by exact model. Read the full step before acting. Understand whether it:
- forces shutdown and loses unsaved work;
- requires charger connected or disconnected;
- assumes a removable battery;
- resets firmware settings;
- uses a clearly labelled, manufacturer-documented opening.
Do not apply a generic “hold power for 30 seconds” ritual blindly. One manufacturer’s reset is another laptop’s quiet minute of nothing.
If the official non-destructive reset changes nothing, record that result and stop repeating it.
For a powered laptop with a black screen
Turn up brightness using the documented keys. Disconnect all external displays and docks, then follow the manufacturer’s display-toggle procedure. Shine no high-powered light into the panel and do not flex the lid.
If available and officially supported, connect one known-working compatible external monitor while the laptop is off, then power on and wait through the documented startup time. Note whether an image appears externally.
An external picture suggests—but does not prove—a panel, backlight, cable, lid-sensor, or display-path issue. No picture externally does not prove motherboard failure. Firmware, startup state, memory, graphics, and other faults remain possible.
Avoid opening the display bezel or base around an internal battery. Hinges, thin display cables, antennas, adhesives, glass, and battery cells make “just reseat it” model-specific work.
Preserve data before recovery
If the laptop reaches recovery, firmware setup, diagnostics, or a login screen, prioritise backup. Do not reset, reinstall, repartition, format, clear a security chip, flash firmware, or remove an account until you understand the data and encryption consequences.
The factory-reset checklist covers:
- verified backups;
- encryption recovery keys;
- authenticator and passkey access;
- app-specific exports;
- external drive separation;
- account and activation-lock steps.
A reset cannot fix true no-power hardware because it cannot run. For startup faults, it may change software state while erasing evidence and files. “Try reset” is not troubleshooting; it is an irreversible wager.
Run only official non-destructive diagnostics
Manufacturers may provide pre-boot diagnostics using a model-specific key or menu. Follow the official instructions, keep power stable, and record test names and exact codes.
Do not assume a “pass” proves every component healthy. Tests cover defined conditions and can miss intermittent faults. A failure code is useful evidence, not permission to order a part from the first marketplace listing.
Firmware update is not a harmless diagnostic. Power loss, wrong firmware, model confusion, or interrupted flashing can leave a device unusable. Back up first, verify exact model and power requirements, and follow official guidance or qualified service.
Opening is a separate decision
Before opening, evaluate:
- internal or user-removable battery;
- warranty and authorised-repair rules;
- exact service manual;
- electrostatic-discharge controls;
- correct tools and fastener map;
- adhesive, clips, cable, and sealing requirements;
- ability to disconnect battery safely before other internal work;
- data importance and availability of professional service.
Do not open when swelling, liquid, heat, smoke, odour, or battery damage exists. Do not probe live boards, bypass interlocks, bridge fuses, short pads based on an unverified forum post, or open the mains adapter.
If the service procedure requires live measurements, microsoldering, battery removal near a puncture risk, or components beyond your training, stop and use a qualified technician.
Write a useful repair handoff
Give the technician:
- exact model and hardware revision;
- charger model and verified compatibility;
- symptom class: no power, black display, boot error, or shutdown;
- indicator pattern and error codes;
- last known good time and recent event;
- outlet, charger, accessory, and official reset results;
- heat, liquid, impact, or battery observations;
- backup and encryption status;
- prior repairs and warranty status.
Do not omit liquid exposure or a nonstandard charger. Those facts change safety and diagnosis.
Avoid fake support
Do not call a phone number in a pop-up or unsolicited message. The FTC’s tech-support scam guidance warns that scammers seek remote access, payment, and credentials while pretending to find a fault.
Use the manufacturer’s support link from its official site or documentation. Never give a stranger remote control because they named the laptop brand correctly.
The safe sequence is external and boring: hazards, accessories, outlet, charger, indicators, model-specific reset, display distinction, backup, official diagnostics, then professional service. Boring is doing excellent work here. The laptop has already supplied enough suspense.