Device Won't Charge: Safe Checks Before Repair
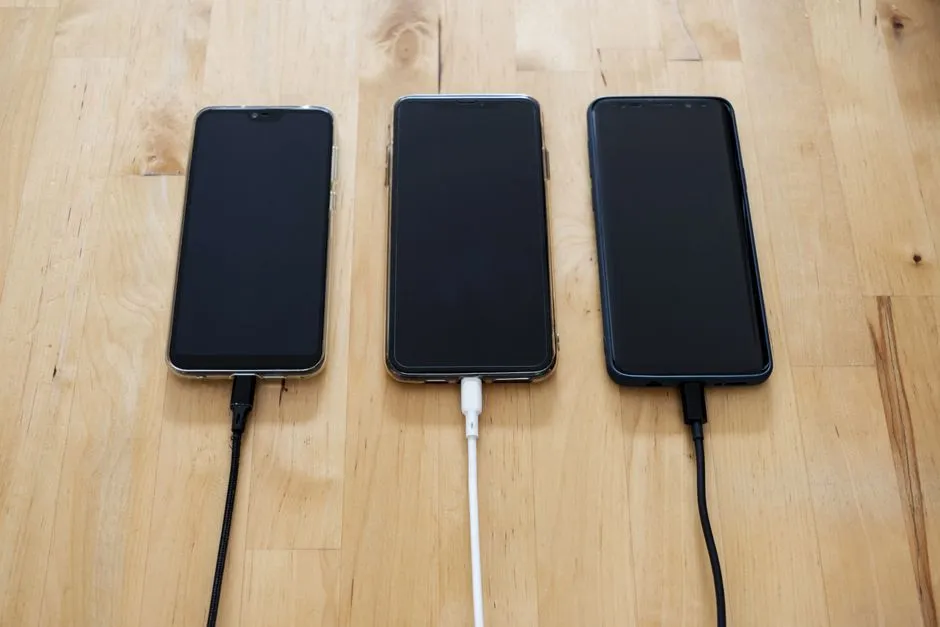
- Start by naming the failure
- Stop before troubleshooting these warning signs
- Make a baseline before changing anything
- Test the outlet without working on it
- Verify the power adapter and cable
- Remove obstructions, but do not improvise cleaning
- Treat liquid warnings as a hard pause
- Give a deeply discharged device a documented interval
- Read the charging state before blaming the battery
- Separate slow charging from fast battery drain
- Use the result pattern to choose the next step
- Preserve data before repair or reset
- Build a useful support handoff
Start by naming the failure
If a phone or laptop is not charging, first disconnect it and stop for swelling, unusual heat, smoke, hissing, liquid, a burning smell, sparks, exposed conductors, bent mains prongs, or a burnt connector. With none of those signs present, test a verified outlet, a known-compatible undamaged adapter, and a known-compatible cable one variable at a time. Then record what the device reports before considering repair.
"Not charging" can describe several different faults:
- no charging symbol and no increase in percentage;
- a symbol appears, but the percentage does not rise;
- charging starts and stops when the cable moves;
- charging is unusually slow;
- charging stops at a configured limit, often 80%;
- the battery reaches a normal level, then drains quickly;
- the screen stays black even though the device may have power.
Do not treat these as interchangeable. A careful ten-minute test can isolate more than an hour of random setting changes.
Stop before troubleshooting these warning signs
Do not reconnect power when the battery or device is swollen, split, crushed, punctured, leaking, hissing, smoking, unusually hot, or giving off a sharp chemical or burning smell. Do not press a lifted case or trackpad flat. Do not pierce, bend, open, heat, freeze, or continue charging a suspect battery.
Also stop for a cable with exposed wire, an adapter with bent or loose mains pins, scorch marks, sparking, melting, or an outlet that is loose, discoloured, hot, or buzzing. Do not open an adapter or outlet. Unplug it only if you can do so without touching damage or approaching smoke or flame. Move away and call local emergency services for an active fire, smoke, or immediate danger.
Microsoft says a visibly expanded battery should prompt immediate device shutdown and cautions against pressure or puncture in its Windows battery-care guidance. A damaged lithium-ion battery needs manufacturer-specific handling. The US Environmental Protection Agency says devices containing lithium-ion batteries do not belong in household rubbish or municipal recycling; use an appropriate battery or electronics recycler, retailer take-back programme, or local hazardous-waste service instead. Its consumer guidance also notes that some batteries are not user-removable.
Make a baseline before changing anything
Write down the exact device model and operating-system version. Do not publish or paste a serial number into an AI chat. Then record:
- battery percentage, charging icon, and any exact warning text;
- whether the device is on, asleep, or shut down;
- adapter brand, model, and output markings;
- cable type and any identification printed on it;
- whether a dock, hub, extension lead, case, or battery pack is in the path;
- recent liquid exposure, drop, repair, update, or new accessory;
- where heat occurs: device, connector, cable, adapter, or outlet;
- whether moving the plug changes the result.
Take a photo of the warning and charger label if useful, but redact serial numbers, account names, notifications, and other personal data. This baseline stops a later cable swap from becoming folklore.
Test the outlet without working on it
Disconnect docks, hubs, monitor charging, travel adapters, extension leads, and power strips for the first test. Connect the approved charger directly to a wall outlet that is dry, undamaged, and known to work.
If the outlet is not already verified, test it with a small, known-working appliance only when the outlet shows no damage or abnormal behaviour. Google gives the same simple outlet check in its current Pixel charging procedure. Do not remove an outlet cover, probe the receptacle, defeat a safety shutter, or attempt mains diagnosis. Damage, heat, noise, looseness, or repeated breaker trips require a qualified electrician.
Record whether the charger indicator lights, if it has one. The meaning is model-specific. Microsoft, for example, says an unlit Surface Connect indicator can point to a power-supply problem, while also directing users with any damaged port, connector, or cord to support in its Surface battery troubleshooting.
Verify the power adapter and cable
A connector that fits is not proof that the power source is suitable. Check the manufacturer's charging requirements for the exact model, including connector, supported charging protocol, and required power. Do not infer compatibility from USB-C shape alone.
Use this order:
- Connect the usual undamaged cable and approved adapter to the verified outlet.
- Remove and firmly reseat each detachable connection once.
- Keep the outlet and adapter fixed; substitute one known-compatible, undamaged cable.
- Restore the known-good cable; substitute one known-compatible, approved adapter.
- Observe the charge symbol, warning text, percentage, stability, and temperature after each change.
Do not test a visibly damaged or unusually hot accessory on another valuable device. Retire it from use and follow the manufacturer's disposal route. If one cable or adapter consistently fails while an equivalent compatible one works, the external component is suspect. That result does not prove the device port or battery is healthy.
Apple's iPhone charging instructions similarly call for checking the cable and USB adapter for damage, avoiding damaged accessories, using firm connections, trying another outlet, and trying another cable or charger.
Remove obstructions, but do not improvise cleaning
Power the device down normally if possible. Remove a case or accessory only if it is not holding together a swollen or damaged enclosure. Inspect the cable ends and port under bright light without inserting anything.
Do not use a pin, paper clip, SIM tool, dental pick, loose cotton, liquid cleaner, adhesive, or unapproved compressed air. Do not force a plug, scrape contacts, or hold the cable at an angle to keep it charging. A loose port, bent centre tongue, burnt contact, corrosion, or angle-dependent connection requires qualified service.
Follow the exact manufacturer's cleaning procedure for the model. The separate phone charging-port checklist explains this inspection boundary in detail.
Treat liquid warnings as a hard pause
Disconnect a cable when the device reports liquid or moisture in the connector. Do not keep reconnecting it to see whether the warning has cleared. Follow the model's official drying instructions.
For current supported iPhones, Apple says to leave the phone in a dry area with airflow, try again after at least 30 minutes, and allow up to 24 hours if the alert returns. Apple also says not to use external heat, compressed air, a foreign object, or rice. Those instructions are specific to the covered iPhone models; another manufacturer may specify a different wait or procedure. Read the full Apple liquid-detection guidance rather than borrowing only its timing.
Do not use wireless charging to bypass a swelling, heat, impact, or internal-liquid concern. Where the manufacturer permits wireless charging after a connector warning, the device exterior and charging surface must meet its stated dry-condition requirements.
Give a deeply discharged device a documented interval
Use the manufacturer's specified wait before deciding that a black screen means no charge. Different products use different intervals. Google tells Pixel owners to use a working charger for 10 minutes and notes that a deeply discharged phone may need several minutes before its screen can turn on. Apple tells owners following its iPhone procedure to charge for 30 minutes, perform the model-specific restart if needed, then charge for another 30 minutes.
Those are examples, not universal timers. Look up the exact model. During the interval, leave the device on a stable, non-combustible surface with ventilation and stop for unusual heat, odour, swelling, noise, smoke, or connector damage.
If the device rings, makes notification sounds, appears on a trusted account locator, or drives an external display while its own screen stays black, the fault may be display-related rather than a complete loss of power. Do not use that inference to open the device. The laptop no-power checklist separates a black display from a no-power condition.
Read the charging state before blaming the battery
A device that stops below 100% may be obeying a charge limit or temperature protection. Apple documents Optimized Battery Charging, user-set charge limits on supported iPhones, and charging restriction when an iPhone becomes too warm. Windows laptops and other devices may have manufacturer battery-conservation settings with their own thresholds.
Check the battery or power settings and copy the exact status. Do not disable a protective setting merely to make the number reach 100%. First identify the feature and read the manufacturer's description for the installed software version.
For a Mac laptop, Apple places the current status under System Settings > Battery > Battery Health. Apple's Mac battery-condition guide defines Normal and Service recommended; the latter can mean reduced charge-holding ability or abnormal operation and points to Apple or an authorised service provider.
In Windows 11, Microsoft documents a built-in report:
- Open Command Prompt as administrator.
- Run
powercfg /batteryreport. - Open the HTML file at the path printed in the window.
- Record relevant entries from Installed battery, Recent usage, and Battery usage.
The command and those section names come from Microsoft's Windows battery-report instructions. A report is evidence, not a diagnosis. Capacity estimates, cycle information, recent load, firmware, temperature, and charging hardware still need context.
Separate slow charging from fast battery drain
Keep the test controlled. Note the starting percentage and time, connect the verified charger, and leave the workload unchanged for the manufacturer-recommended observation period. Record whether the percentage rises and whether the operating system labels the charger slow, unsupported, or connected without charging.
Then, only if the device is cool, stable, and able to charge, disconnect it at a recorded percentage and observe a normal, repeatable workload. Record screen-on time, brightness, active apps, video calls, games, external displays, radios, and sleep behaviour. Compare the operating system's per-app battery-use view with the clock.
Do not declare a battery defective from one busy interval. Conversely, a battery that shuts the device off abruptly, changes percentage in large jumps, or cannot run unplugged warrants manufacturer diagnostics or service even if an adapter can keep the device on.
Use the result pattern to choose the next step
| Observed result | Most useful next action | What it does not establish |
|---|---|---|
| One replacement cable works consistently | Stop using the original cable | Battery health |
| One approved adapter works consistently | Stop using the original adapter | That every charger of the same connector is suitable |
| Charging fails through a dock but works directly | Check the dock, its power supply, and compatibility | A device-side hardware fault |
| Cable must be bent or held | Stop and obtain port/cable service | That pressure is a safe workaround |
| Charge stops at a documented limit | Review the named battery setting | A failed battery |
| Percentage rises, then falls rapidly unplugged | Collect battery-health and usage evidence | The exact failed component |
| Multiple verified setups fail | Use manufacturer diagnostics or qualified service | That a replacement battery is automatically the answer |
Do not buy a part from the pattern alone. Model revisions, connector assemblies, batteries, firmware, calibration, and service procedures vary.
Preserve data before repair or reset
If the device is cool, physically intact, and stable enough to operate, back up important files and verify that representative files open from the destination. Preserve account recovery and disk-encryption information separately. For managed, medical, legal, school, or work devices, use the organisation's authorised support route.
Do not keep charging a hazardous device to finish a backup. Safety takes priority. Also do not factory-reset a charging fault as an opening move. Resetting erases evidence and data without repairing a damaged cable, port, adapter, or battery. If manufacturer support later requires a reset, use the factory-reset checklist first.
Build a useful support handoff
Give a technician or support agent:
- exact model and operating-system version;
- the precise warning or battery-health status;
- adapter and cable identifiers and compatibility source;
- outlet, direct-connection, and one-variable swap results;
- starting percentage, elapsed time, ending percentage, and workload;
- any liquid, impact, update, repair, or accessory change;
- port looseness, heat location, smell, swelling, or damage;
- backup status and steps already attempted.
If using AI to organise the evidence, require it to distinguish observation from inference and to link the exact manufacturer's current instructions. The repair-help prompt guide provides a bounded format. Reject any response that tells you to open a mains adapter, probe an energised circuit, bypass a safety interlock, puncture or heat a battery, force a wet connector, or erase data without a verified backup.
The safe endpoint is not necessarily a home fix. It is a narrow result: an identified external accessory, a documented software state, or a concise evidence packet for qualified service.